But, ah ha! That is why I am taking a CLASS because low and behold, my fabulous quilting class teacher knew not only how to read the directions but how to simplify them for quilting novices like myself!
My "homework" was to cut the big fabric pieces into tiny fabric pieces and make the "half square triangles" for the boat sails. A month ago, had you assigned me the above project, I would have looked at you like you had two heads and then would have either laughed at you or cringed, screamed and ran the other way (you did have two heads after all). But not anymore!
1. Carefully measure out the fabric into strips. And cut those strips into the appropriately sized squares. (Do note that you are not going crazy, this fabric is a new addition to its earlier posted friends.)
2. Put squares together good sides (I know that is not the technical term for that) facing in.
3. Draw a line, with a water soluble fabric pen, that divides the squares into triangles. I pinned them to hold them together - note that this was a step I made up on my own to keep from losing stuff (and to increase the chances that I would stab myself in the fingers with pins).
(Second Mate wanted to help.)
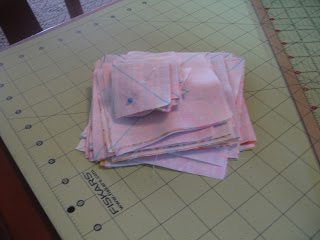
4. Voila! A stack of fabric that is ready to be sewn (and pins that want to stab me!).
To be continued when I find time to finish my "homework" before the week is over!


Looks great so far! My mom quilts... you will love it when you are finished!
ReplyDeleteI am dying over what a good job you are doing!! I simply cannot make the cuts straight, no matter what I do. It is pathetic. Can't wait to watch the progress on this!
ReplyDeleteSending you a smile,
tp